How To Make Acrylic Keychains
Acrylic keychains are a fun way to add a little personalization to your house keys, or maybe even add some flair to your business card. They’re great as promotional merchandise as well, and they’re easy enough to make that you could have a batch ready in just an afternoon.
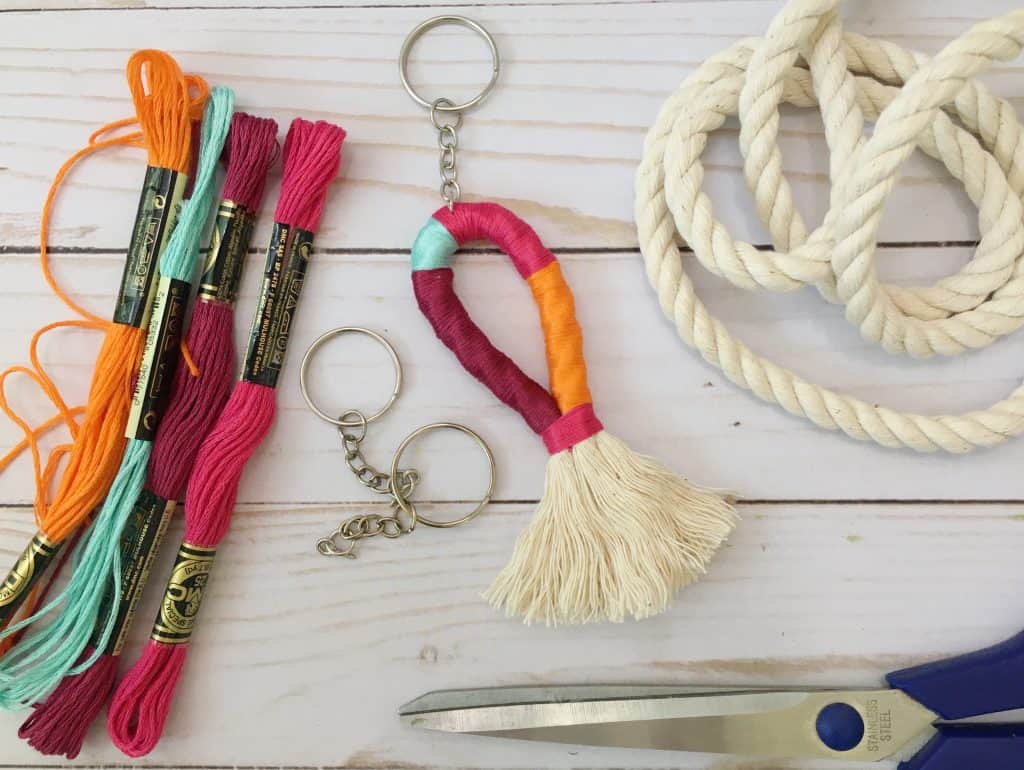
To make acrylic keychains, you’ll need some craft supplies like acrylic paint, brushes, and some kind of vinyl material with adhesive backing. It is also helpful to have some sort of cutting device such as scissors or a utility knife with new blades.
This DIY project is easy enough for anyone who has the patience and time to complete it. Once you get the hang of it after your first couple tries, you can probably complete an entire set in about half an hour.
What you’ll need
– Acrylic Paint: You can choose between paint in a paintbrush or in a paint pen. Both will work, but the paintbrush will give your acrylic keychains a different look than the paint pen.
– Craft Knife or Utility Knife: You’ll use this to cut out your acrylic keychain. Make sure to use a new blade for each cut to avoid your acrylic keychains from getting scratched!
– Ruler: To make sure each keychain is the same size.
– Vinyl/Adhesive Backing: To adhere your acrylic keychain to your house keys or business cards.
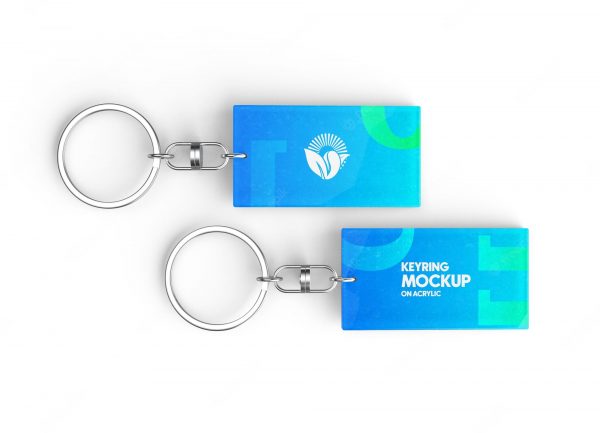
– Keyring: You’ll need one for each acrylic keychain you plan to make.
– Paper: You’ll need this for the initial sketch of your design.
– Paintbrush: To apply the acrylic paint to your acrylic keychain.
– A level: To make sure that each acrylic keychain is even.
Step 1: Decide on a shape
While you could technically make any shape acrylic keychain you want, it’s best to start with simple geometric shapes like a square, rectangle, or circle. You can always get more complicated with your acrylic keychains once you get more comfortable with the technique.
If you’re unsure of what shape to make your acrylic keychains, consider the shapes of your house keys, or even your business cards. If you’re making acrylic keychains as promotional merchandise, you can even ask your customers what shape they prefer. This will help you get a better idea of what sort of acrylic keychains your customers will enjoy.
Step 2: Paint your shape
Once you’ve decided on a shape, you’ll want to paint it with acrylic paint. You can choose any colour you’d like for your acrylic keychains, just be sure to mix the paint to the proper consistency. You’re aiming for a paint that can be easily applied, but will still stick to the acrylic once it dries.
If you’re using paint in a paintbrush, you’ll want to dip your paintbrush in water, shake off the excess water, and then apply the paint to your acrylic keychains.
If you’re using paint in a paint pen, you can just apply it directly to your acrylic keychains without water or anything else. Make sure to let your acrylic keychains dry for at least 24 hours before you move on to the next step.
Step 3: Cut out your shape
Once your acrylic keychains are dry, you can begin cutting them out. For best results, make sure to cut them out on a level surface. If you have a level available, it’s helpful to use it while you’re cutting.
You can choose either to cut out the entire shape, or cut out only the top part of your acrylic keychains and leave the bottom part intact. If you’re planning to leave the bottom intact, you can either use a craft knife or utility knife to make your cuts.
If you’re planning to keep the bottom part of your acrylic keychain intact, it’s best to use a utility knife to make your cuts. A craft knife is too thick to fit between the two layers of acrylic.
Step 4: Adhere the vinyl and keyring
Once your acrylic keychains are cut out, you can apply the vinyl to the back of each one. Make sure that the vinyl is facing the correct way, and that the adhesive backing is on the back. Properly cover your acrylic keychains in the vinyl, you can begin attaching the keyrings to the back.
Make sure to apply even pressure as you’re applying the keyrings to make sure that they’re attach securely. You can apply the vinyl using either a glue gun or regular old glue. If you’re using glue, make sure that it’s strong enough to hold the acrylic and vinyl in place.
Step 5: Seal the keychain with resin
Once your acrylic keychains are fully attached with the vinyl and keyring, you can seal them with resin. You can either buy premade resin, or make your own. To make your own resin, you’ll need to mix together the following ingredients in a large pan: – resin- hardener- plastic dye (optional)
Once your ingredients are fully mixed together, you can pour the resin into your acrylic keychains. Make sure to pour slowly, while stirring the resin to avoid bubbles from forming. Once you have poured all of your resin into the acrylic keychains, you can let them dry for at least 24 hours.
Final Thoughts
Acrylic keychains are a fun, one-of-a-kind gift or promotional item that you can make with ease. They’re a bit different than other gifts in that they’re lightweight, and don’t take up too much space. If you have a little bit of time to spare, acrylic keychain can make a great gift for friends and family, or even for yourself if you like to have a little bit of fun with your accessories.