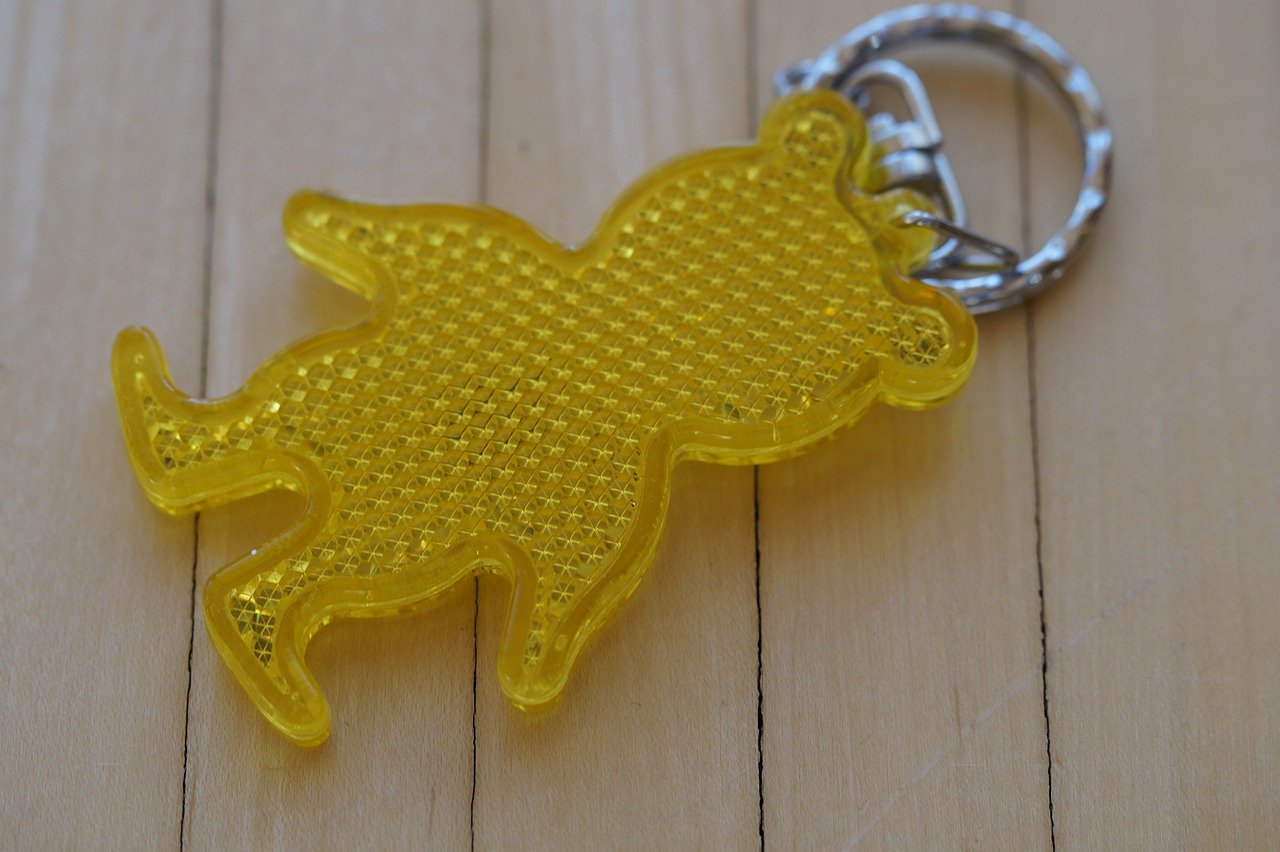
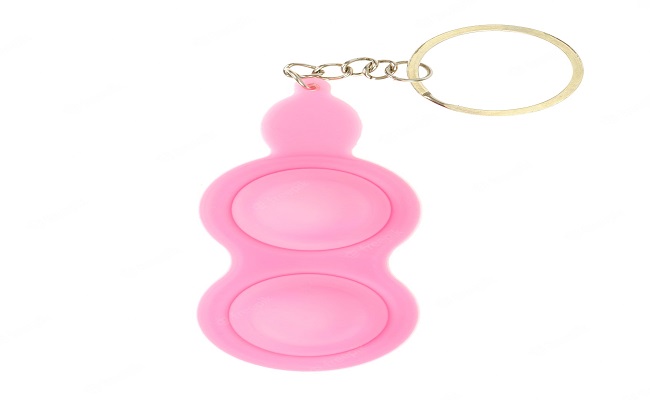
how to make resin keychains
Resin can be a great medium for making DIY keychains. Not only are they lightweight, small, and easy to carry, but they’re also pretty affordable to make.
After all, the cost of materials is pretty minimal here. If you’ve never worked with resin before, rest assured that it’s a lot simpler than it might seem at first glance. You don’t need any special tools or skills to make some awesome keychains using resin.
All you need is time and access to the right materials and prep work will take you through everything you need to know about working with this material. Let’s get started!
What you’ll need
There are a few things you’ll need for this project
– Resin – You can purchase resin online or at any craft store. For this project, we recommend buying UV-cured resin, which is specially formulated for use with a UV lamp.
– Tools – An X-Acto knife, paintbrush, and gloves will come in handy.
– Objects – You’ll want to pick objects to embed in the resin. We recommend using lightweight, small items, like coins, feathers, or small seashells.
– UV Lamp – This is essential for curing the resin. Any UV lamp will do, but it’s a good idea to check that it can handle the resin you’re using.
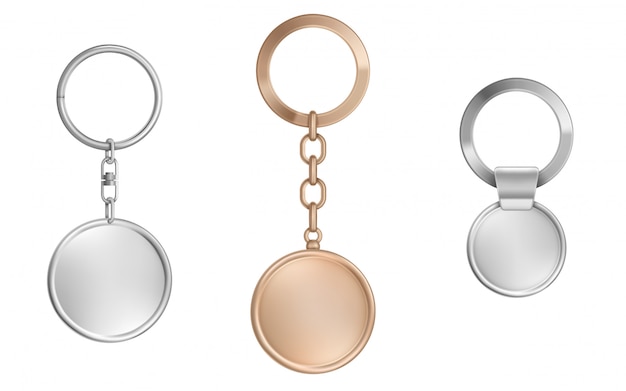
– Keychain hardware – You’ll need clasps or rings for attaching the keychains to your keys.
Making resin keychains
– Prep work – Before you do anything, it’s important to prep your work area. Cover your work surface with newspaper or painters’ tape, as resin can permanently stain or mark surfaces like wood or plastic. We also recommend wearing gloves, as resin can be pretty messy.
– Preparing your objects – You may wish to embed objects like coins or feathers in the resin. If so, you can follow these steps –
– Mixing the resin – Resin is a type of plastic, so it needs to be mixed with something called a hardener to cure. The resin and hardener will come premixed, but it’s a good idea to test the mixture’s consistency before starting.
– Applying resin – After you’ve picked your objects and prepared your base, it’s time to pour the resin. We recommend using a disposable cup or bowl to pour the resin.
– Drying and curing – Once you’ve poured and applied the resin, it’s time to set up your UV lamp. If you’re using a commercial UV lamp, follow the instructions for setting it up. If you’re using a homemade lamp, follow these guidelines
– Wrapping up – You’re all done! Now, all you have to do is let the keychains dry, which can take anywhere from 24 hours to a week, depending on the resin you use. Once the resin is dry, you can remove the objects and hardware.
Keychain drops
– Prep work – Start by pouring the resin into a disposable bowl. We recommend using UV-cured resin.
– Mixing the resin – Pour the resin and the hardener into a mixing bowl and stir the two together. When the two are combined, pour the liquid into the bowl full of keychain drops.
– Applying resin – Once you’ve finished pouring the resin, you can drop your keychain onto the surface. Gently press the keychain against the surface, allowing the resin to seep through the holes and into the bowl.
– Drying and curing – Place the bowl in an area that receives a lot of sunlight. It can take a few hours for the resin to cure, but you can use a UV torch to speed up the process.
– Wrapping up – Once the drops have hardened, you can pop them out of the bowl. You can combine drops, or you can pour the liquid back into a bowl and start over.
Drying and curing
– Once the resin has been poured, you can use a UV torch to speed up the curing process. The resin needs to be cured before you can remove it from its container.
– Once the resin has cured, you can remove it from the container. You can clean out the container so it’s ready for the next batch of resin.
Wrapping up
The resin can take anywhere from 24 hours to a week to fully cure, depending on the type of resin you use. Once the resin has cured, you can remove the embedded objects and hardware. Now, all you have to do is let the keychains dry, and they’re ready to use.