How to make lego keychains: 5 surprisingly easy steps
Are you a parent, grandparent, or teacher trying to figure out how to make Lego keychains? The little bricks with a snap on them are popular with kids and teens alike. Making them into keychains is a great way to have something fun and useful from these special toys.
You can even sell them if you want to make some money off of this project. The great thing about making your own Lego keychains is that it’s an easy DIY project for anyone. There are many different designs you can come up with, and all you need is some basic crafting supplies. Keep reading for everything you need to know about how to make Lego keychains at home.
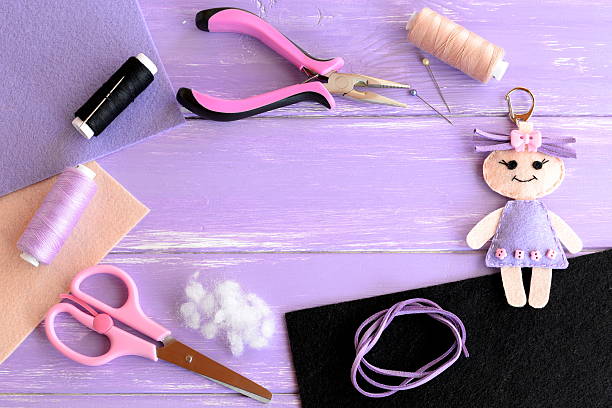
What you’ll need to make Lego keychains
There are a few specialized items you will need for this project, but most of the supplies can be reused again and again. You will need:
– Lego bricks – any design or colour you like.
– Super glue or epoxy – both work well for this project. You might want to make sure you get an adult to help you with this part.
– Scissors or a craft knife – for cutting the rubber bands.
– Rubber bands – any colour or size will work.
– Ruler or measuring tape – for measuring out your chain length. – Measuring cup or water/measuring jug – for filling your water bottle.
– Empty water bottle, 2 L – for mixing the epoxy.
– Cardboard or a thick, heavy paper – for making your key ring.
– Key ring clasps – to attach your Lego keychains to your key rings.
– Cardboard or paper to cover the table – to protect your work surface during the project.
Step 1: Find the right Lego pieces
The first thing you want to do when making Lego keychains is to decide what designs you want on them. The best designs to use are larger pieces that are thicker. Smaller pieces tend to break more easily while you are mixing and gluing them together.
Depending on the design of your Lego bricks, you might need to flip some over to make them fit. For example, you might need to turn some bricks with studs on top to the underside. If you have a favourite set of Lego bricks and you want to use those, you might need to put the bricks apart first.
Lego bricks are designed to be snapped together so they stay together when you play with them. But that also means they’re glued together and you’ll need to put them apart first.
Step 2: Glue your pieces together
Once you have all your Lego bricks separated, you’ll want to glue them together. You can use either a thick super glue, epoxy or even a hot glue gun. You will need to carefully glue the pieces together to avoid getting the glue on your fingers.
Try to place your smaller pieces towards the inside of the design and put your larger pieces towards the outside. This will help you get a more balanced design. When you are gluing the Lego bricks together, you will want to place the pieces as close together as possible.
You don’t want any gaps or spaces between the pieces because those will show once you have the keychains finished.
Step 3: Let the glue dry
How long you let your glue dry will depend on what type you use. Super glue dries very quickly and will be dry in just a few seconds. Epoxy takes a little longer to dry but it will still be dry and ready to use in a few hours. If you are using hot glue, you will want to let that glue dry completely before moving on to the next step.
Hot glue will take longer to dry and you don’t want to risk damaging your Lego bricks while it’s still wet. When the glue is dry, you are ready to move on to the next part of the project.
Step 4: Decide how long you want your chain to be
The next step in the project is to measure out how long you want your chain to be. It’s best to do this with a friend or have an adult help you. Using a chain that is too short can make the keychains unwearable. If you are making keychains for kids, you might want to use shorter chains so they can wear their keys like a necklace.
If you are making keychains for adults, you can use a longer chain that can be worn as a belt or purse chain.
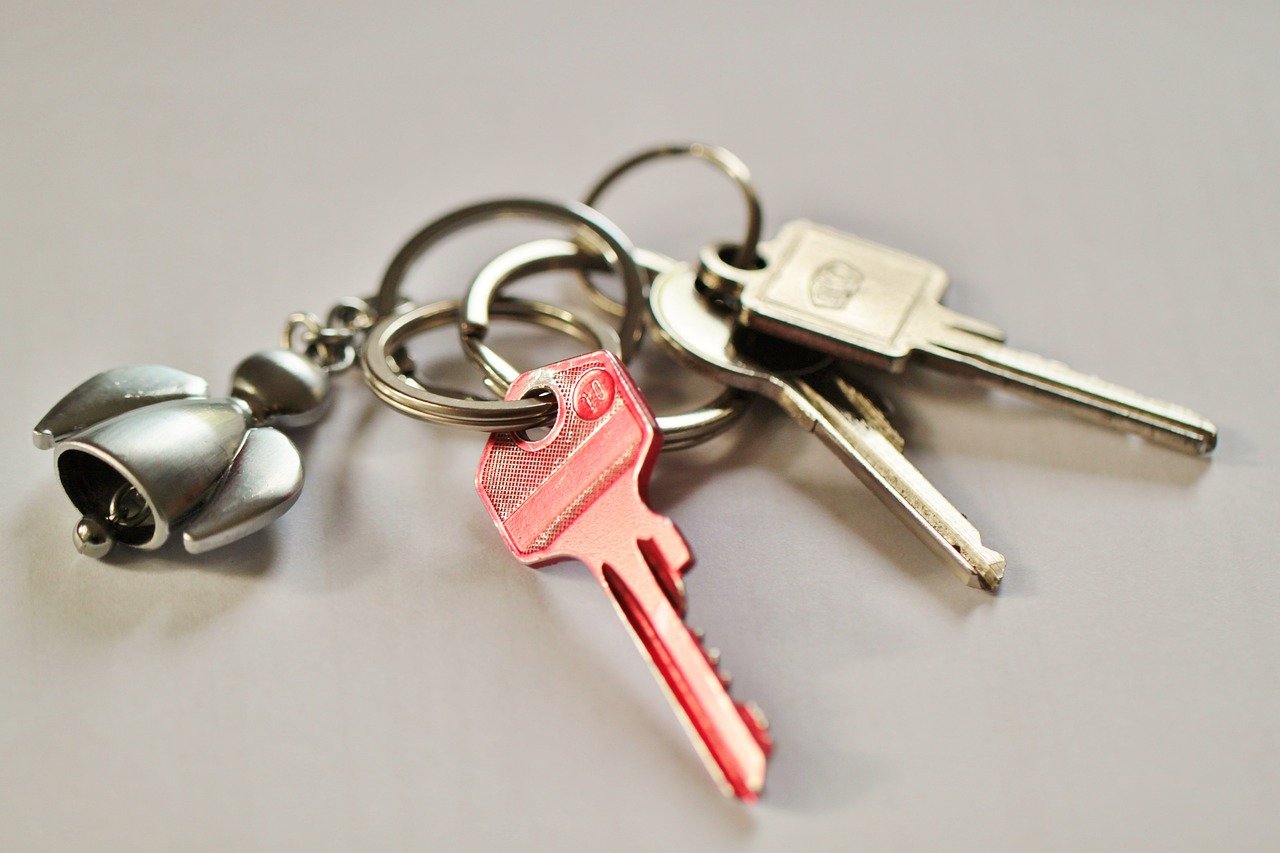
Step 5: Make your key ring and clasp
Depending on the design you want to use, you might want to glue a key ring on one end of the chain. This allows you to quickly and easily clip your keys to a belt loop or bag. You can use any small ring or clasp you have around the house. You can also buy them at any craft or hardware store. You can even use a paper clip if you need to.
You just need something to clip your keys to your chain. If you don’t want a key ring, you can make a loop at the end of your chain. You can either glue or sew a loop onto the end of the chain. You can also use a hole punch to make a hole. You will want to use heavy paper or cardboard to make your loop or loop closure. If you use regular paper, it will tear under the weight of the keys.
Final Words
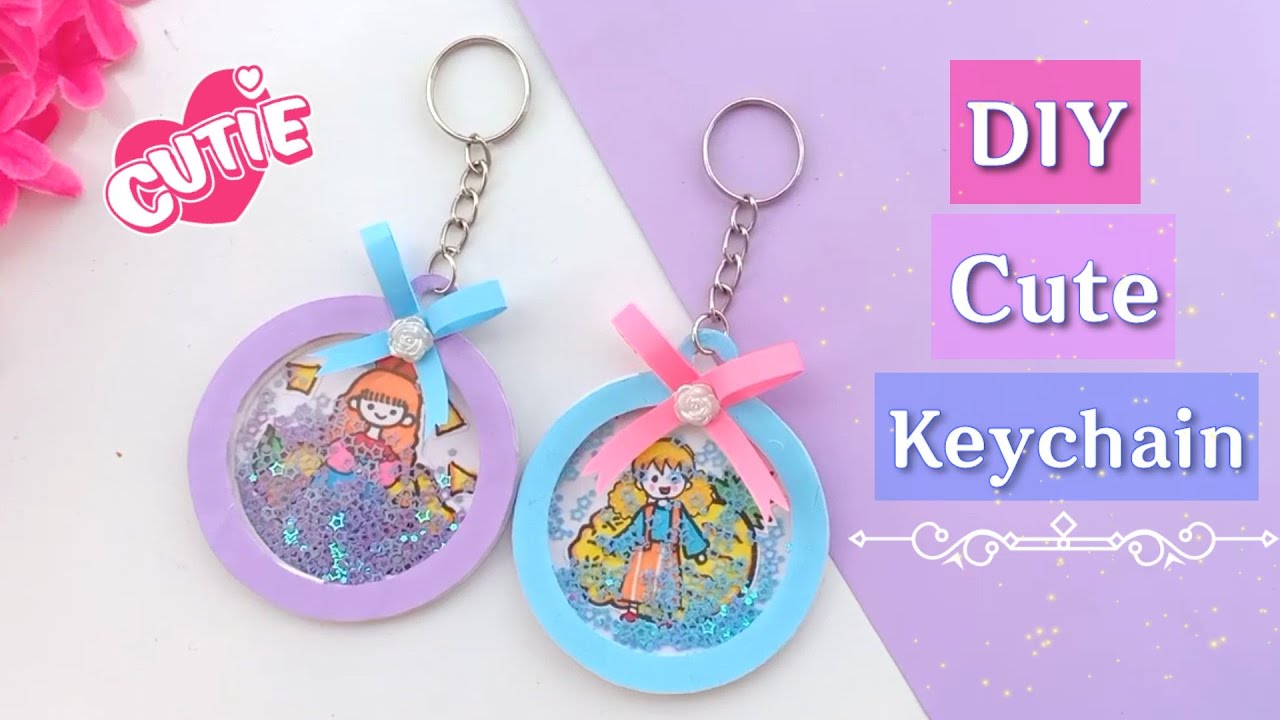
Making keychains out of your favourite childhood toy is a fun project. It’s also a great way to spruce up a child’s room or a teenager’s space. It’s a great gift for any Lego fan and a great way to recycle a toy that may be collecting dust in a toy box or bin.
The best part about these DIY Lego keychains is that you can make them in so many different ways. You can make them as simple or as complicated as you want with different designs and colours of Lego bricks. These DIY Lego keychains are a great project for kids, teens and adults of all ages